
Appearance
Creating & editing a project
Create a project
- Go to Projects in the sidebar and click New Project (or Create Your First Project if the list is empty).
- Fill in the project details (below).
- Save — you'll land in your new project workspace, ready to add documents, tasks and teammates.
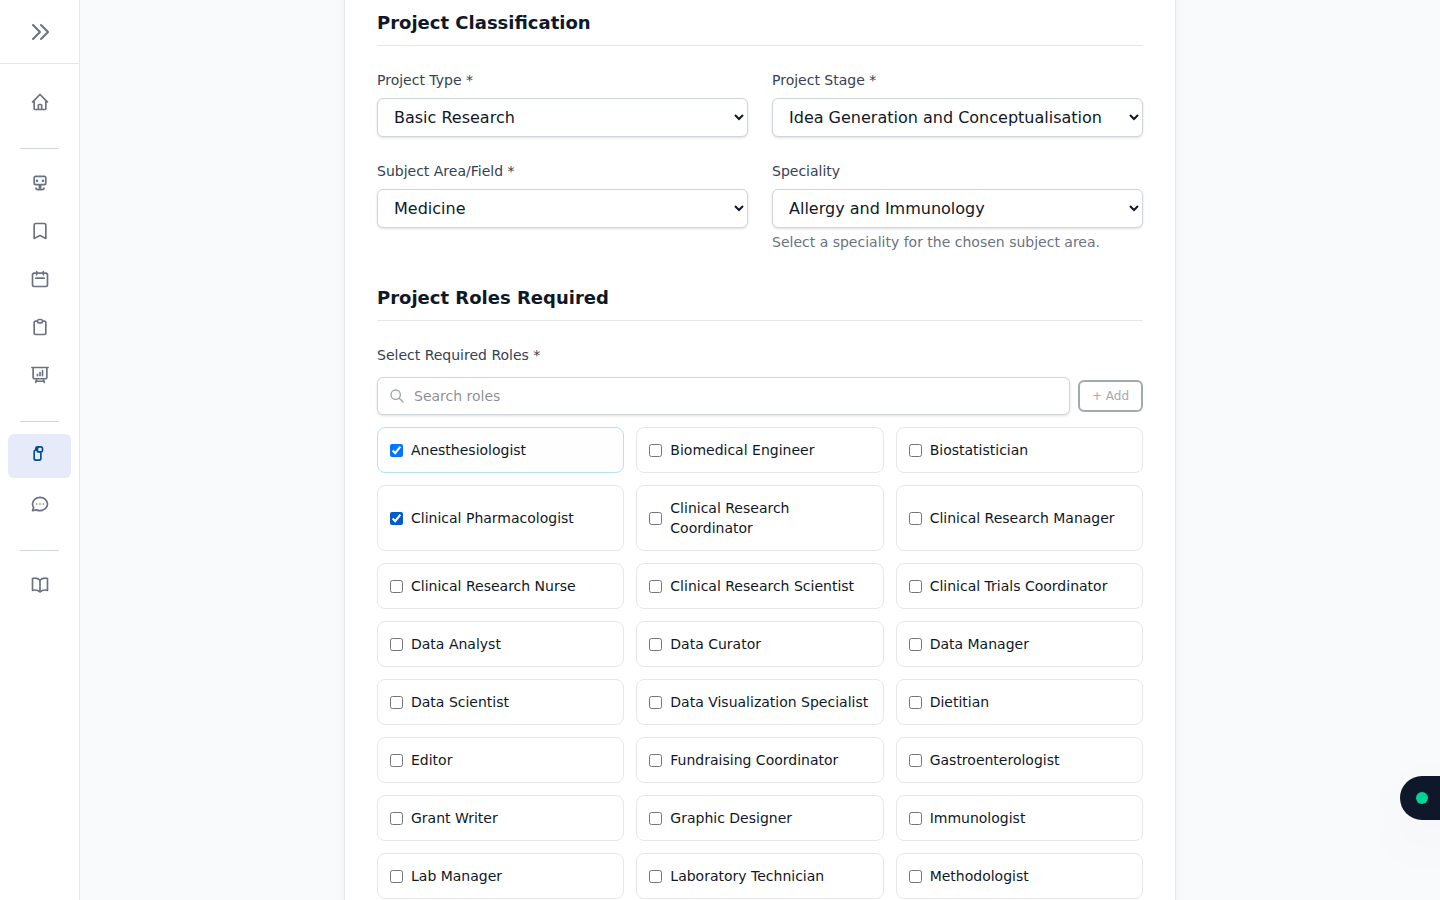
Project details
| Field | Notes |
|---|---|
| Project Title | A clear, descriptive name — this is what potential collaborators see |
| Description | A summary of what the project is about |
| Objectives | What you aim to achieve |
| Methodology | How you'll approach the work |
| Project Type | The kind of research (e.g. clinical, review, lab-based) |
| Project Stage | Where you are in the lifecycle |
| Subject Area & Speciality | Helps the AI match your project to the right researchers |
The description, objectives and methodology fields include a rich text editor, and you can attach files directly to the text where helpful.
Write for your matches
Other researchers discover your project through Smart Matches, which reads your title, description, objectives and subject area. Clear, specific text attracts the right collaborators.
Editing a project
Open the project and choose Edit, or use the edit action from the My Projects list. All fields can be updated at any time.
Documentation
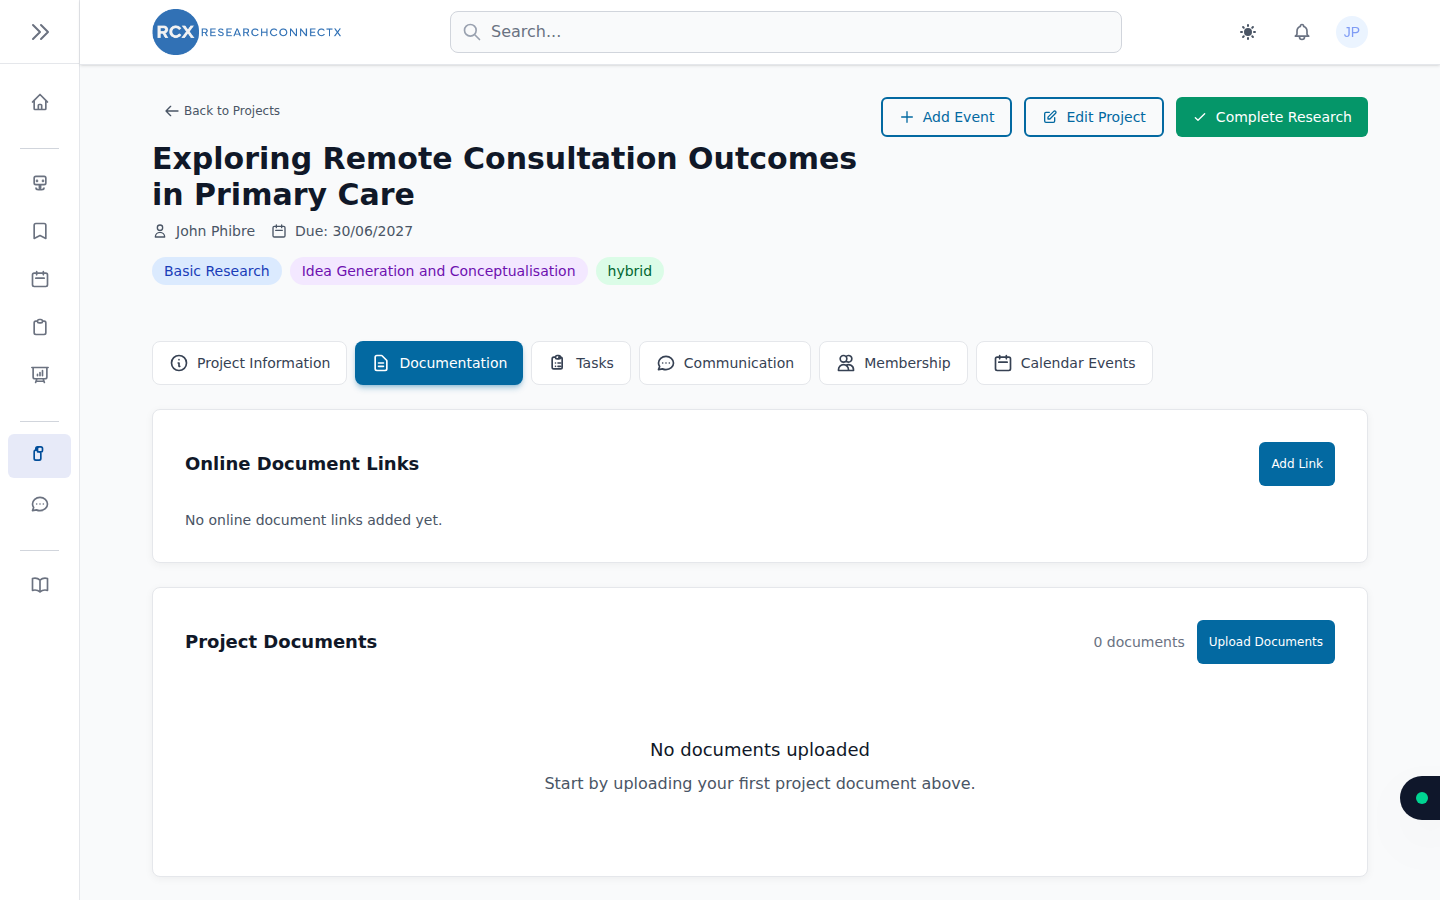
The Documentation tab keeps project files in one place:
- Upload documents — protocols, data sheets, drafts
- Add online document links — link Google Docs, SharePoint files, etc.
- Download or delete files as the project evolves
Calendar events
The Calendar Events tab shows the project's events (milestones, meetings) on the shared calendar. Events also appear on your personal calendar.
Completing a project
When the research wraps up, use Complete research on the Project Information tab to mark it finished. Completed projects remain visible for reference; you can also archive them from the My Projects list.