
Appearance
Creating a survey
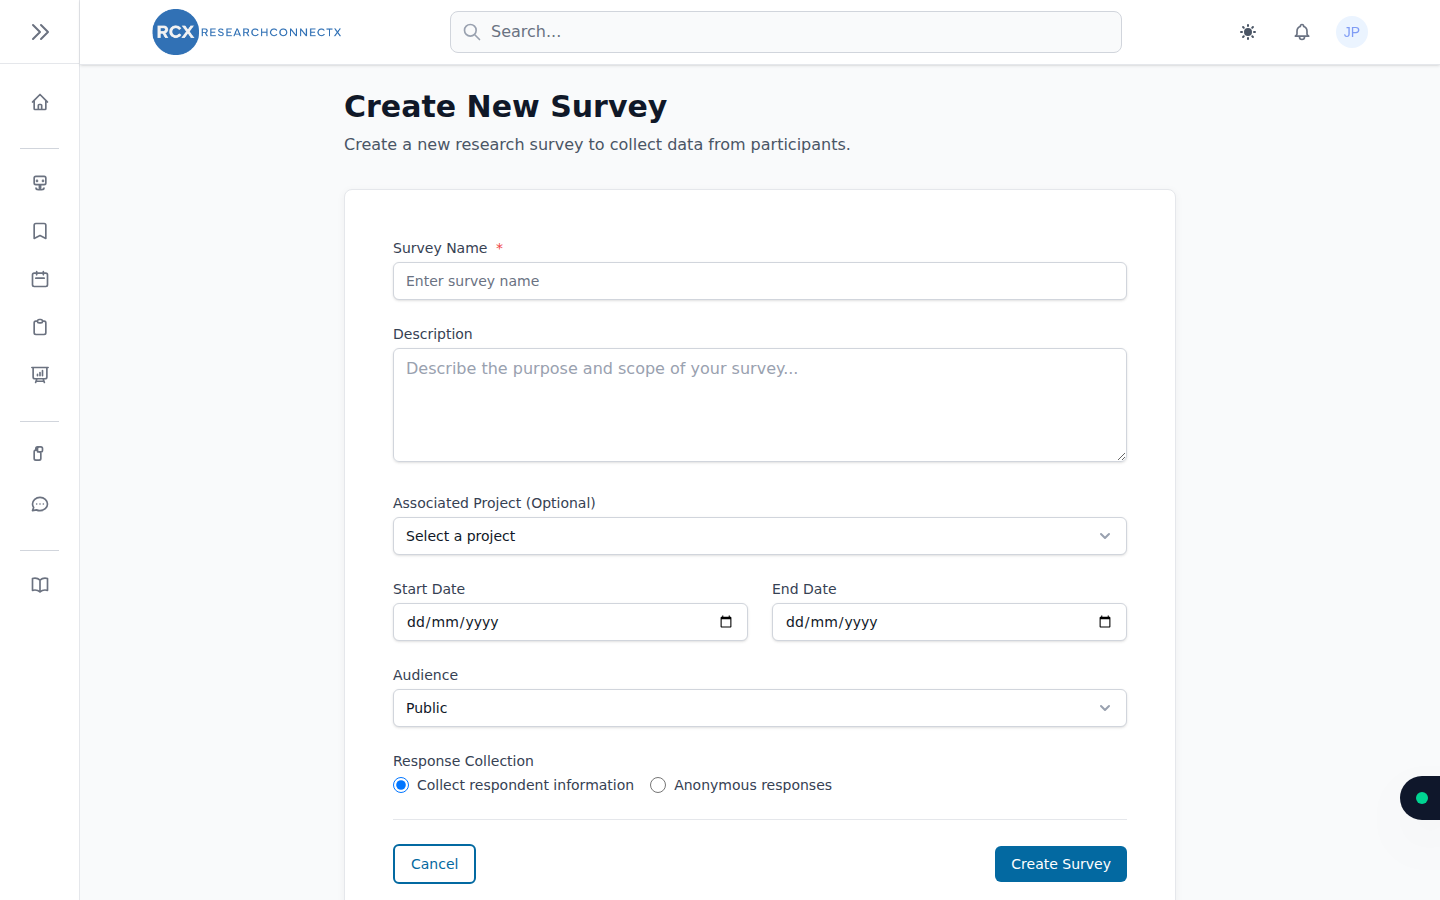
From Survey Management, click Create Survey.
Step 1: Survey details
Every survey starts with its details:
- Survey name and description — the first thing respondents read
- Associated project (optional) — link the survey to one of your projects
- Start and end dates — your data collection window
- Audience — public (anyone with the link) or restricted
- Response collection — collect respondent details, or keep responses anonymous
Step 2: The survey builder
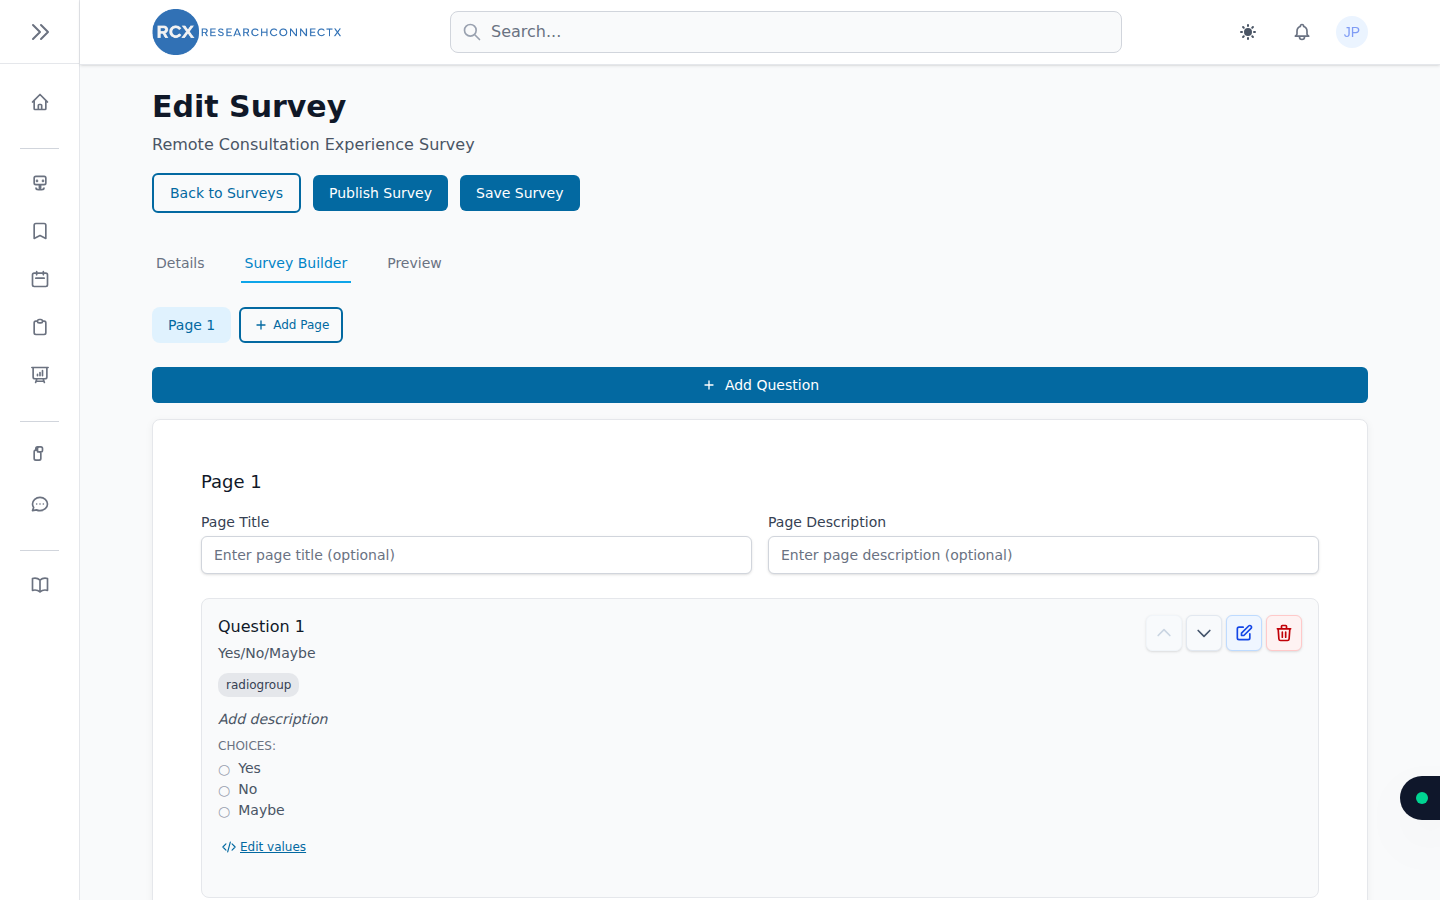
After saving, the Survey Builder tab is a visual designer:
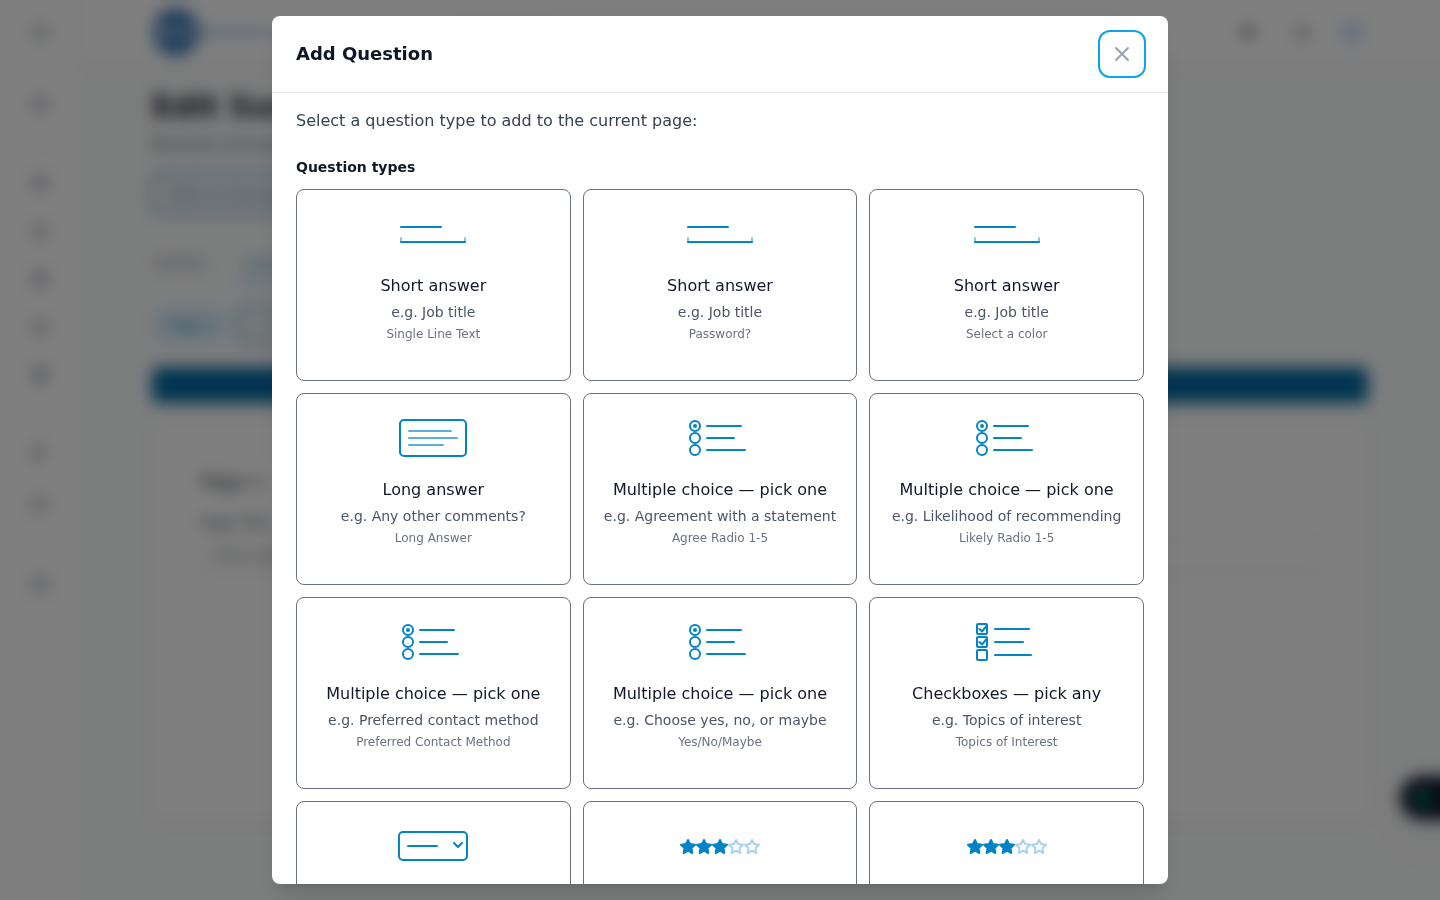
- Click Add Question and pick from the question type library — short and long answers, multiple choice, checkboxes, rating scales and more
- Add pages to break longer surveys into sections
- Reorder, edit or remove each question with its controls
- Use the Preview tab to see exactly what respondents will get — live, as you build
Click Save Survey as you go — nothing is lost if you step away.
Targeting specialities
Setting target specialities on your survey tells the AI which researchers should see it in their Smart Matches — targeting well means better response rates from the right people.
Publishing
A survey only collects responses once it's published:
- Open your survey and click Publish Survey.
- The survey page shows your public link (
/survey/...) with a Copy button — share it anywhere: email, social media, mailing lists. Respondents don't need an account. - To stop collecting, Unpublish — the link stops accepting responses but your data stays intact.
Editing after publishing
You can edit a published survey, but be careful changing questions after responses have come in — it can make results harder to compare. Prefer small fixes over restructuring once you're live.